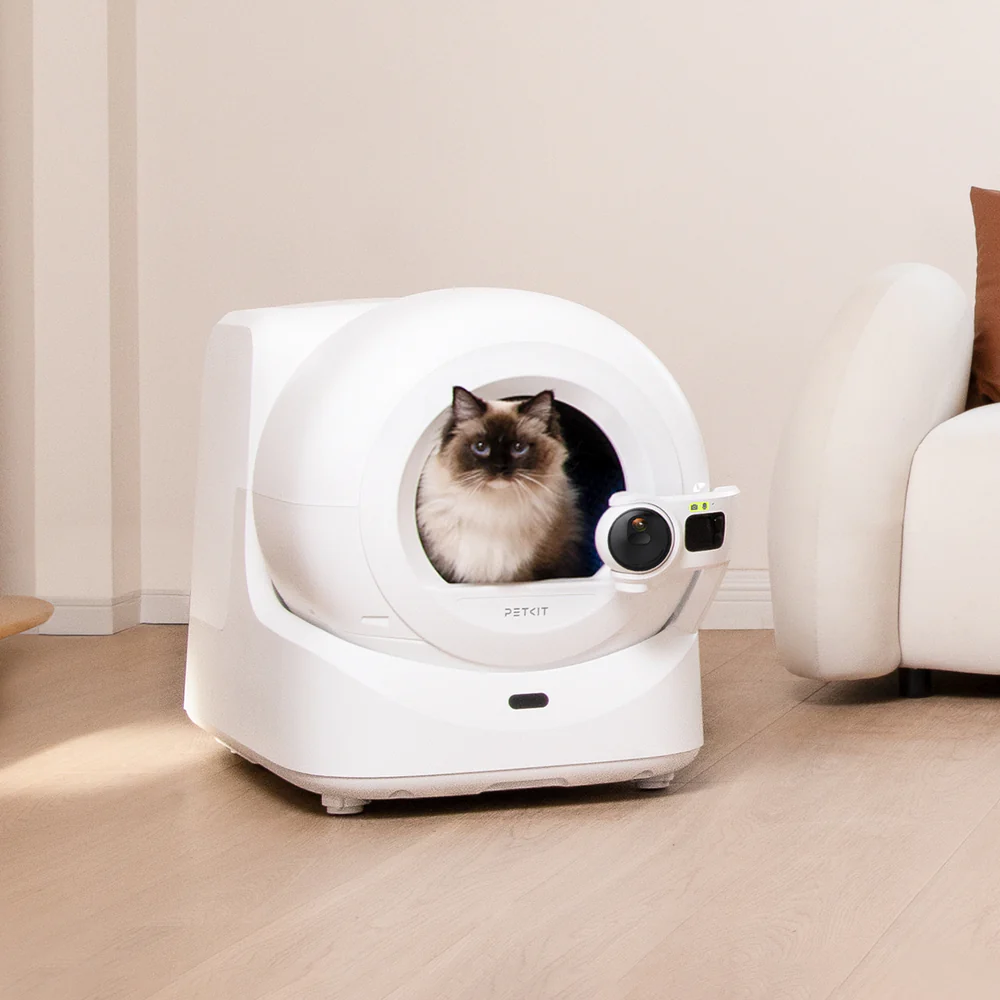
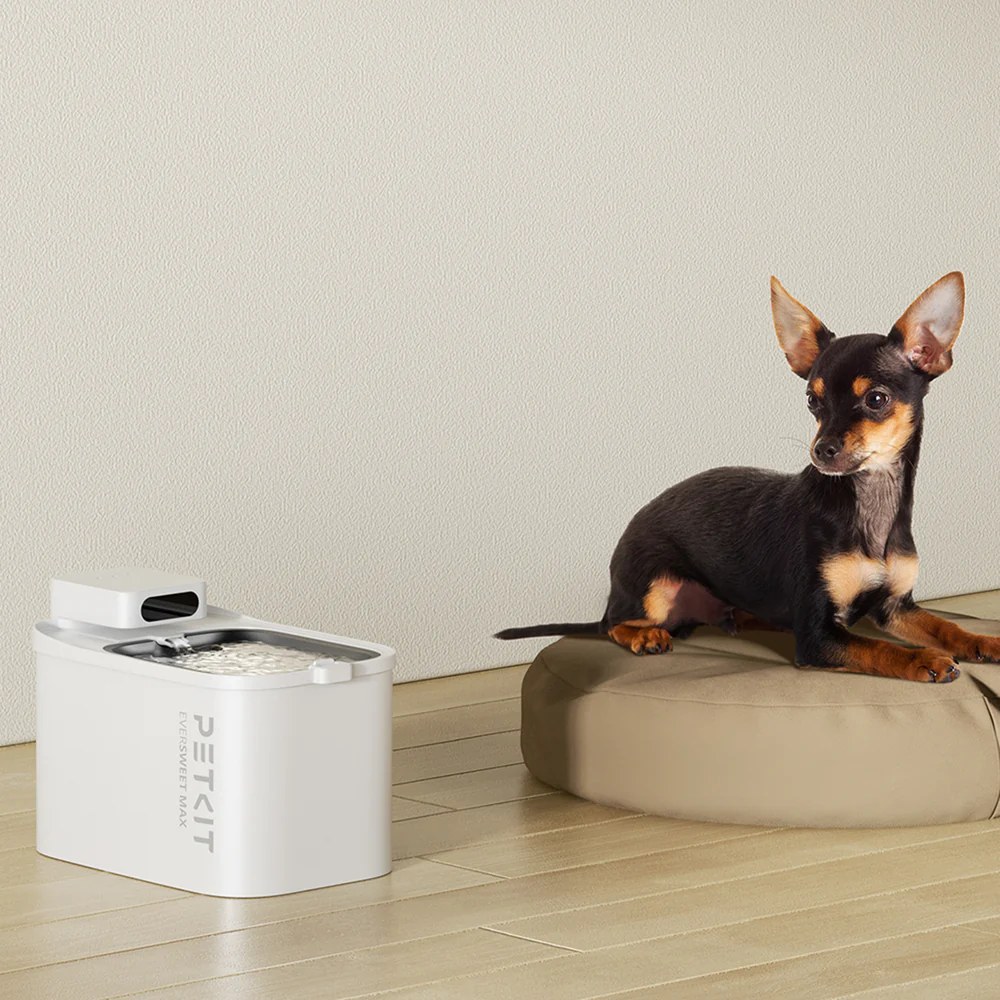
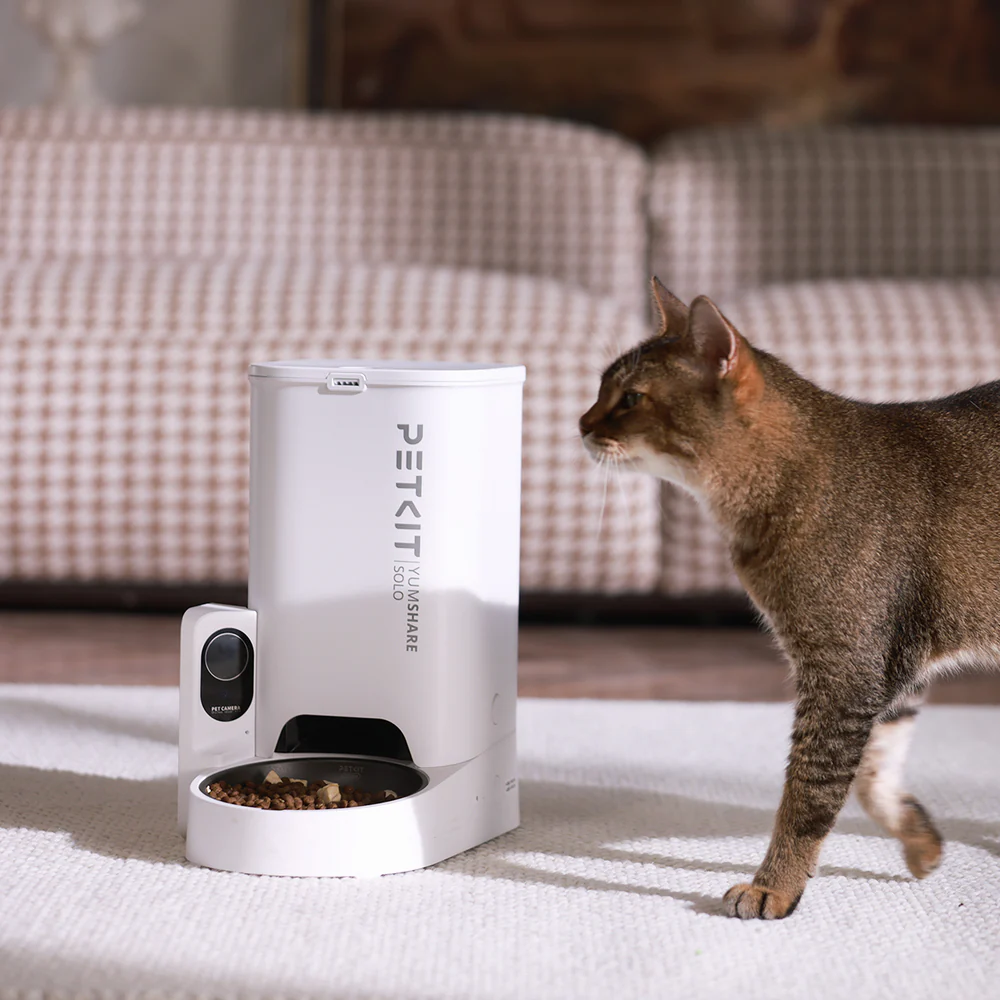
If you’re a proud owner of Petkit pet products, encountering a "sealing cover error" can be frustrating. This common issue affects various Petkit devices, from feeders to water dispensers, but fear not—most problems are easily solvable with a little troubleshooting. In this guide, we’ll break down the common causes of Petkit sealing cover error, walk you through step-by-step fixes, and share tips to prevent future issues.
Common Causes of Petkit Sealing Cover Error
Before diving into solutions, it’s essential to understand why the error occurs. Here are the most typical reasons:
- Improper Installation: The sealing cover may not be aligned correctly with the device’s base. Petkit products have precision-engineered lids that require a snug, even fit—even a small misalignment can trigger the error.
- Debris or Food Residue: For feeders, crumbs or pet food particles often get trapped between the sealing cover and the device. In water dispensers, mineral deposits or hair can create a barrier, preventing a proper seal.
- Sensor Malfunction: Many Petkit devices use sensors to detect if the cover is closed. Dust, moisture, or minor damage to these sensors can cause false error readings.
- Wear and Tear: Over time, the sealing gasket (a rubber or silicone ring) may degrade, lose elasticity, or develop cracks, compromising the seal.
- Mechanical Issues: Rarely, internal components like hinges or locking mechanisms may become loose or damaged, preventing the cover from closing securely.
How to Fix Petkit Sealing Cover Error: Step-by-Step Guide
1. Basic Troubleshooting (Works for All Devices)
Start with these simple steps, as they resolve most sealing cover errors:
- Power Cycle the Device: Unplug the device (or remove the batteries) for 30 seconds, then restart it. This can reset temporary sensor glitches.
- Clean the Cover and Base:
For feeders: Use a dry cloth to wipe away food crumbs from the cover’s edge and the device’s opening. A soft-bristled brush works well for tight spots.
For water dispensers: Mix a solution of warm water and mild soap, then gently scrub the sealing area to remove mineral buildup. Rinse thoroughly and dry.
- Reinstall the Cover: Remove the cover completely, check for any visible obstructions, then reattach it. Ensure it clicks into place—most Petkit devices make an audible sound when the cover is properly secured.
2. Fixes for Specific Devices
Petkit Feeder: What to Do if Petkit Feeder Has Sealing Cover Error
If your feeder still shows the error after basic checks:
- Check the Food Hopper: Ensure the hopper isn’t overfilled, as excess food can push against the cover. Reduce the portion and try closing the cover again.
- Inspect the Sealing Gasket: Remove the gasket (usually located around the cover’s edge) and check for cracks or food residue. Clean it with soap and water, or replace it if damaged (Petkit sells replacement gaskets on their official site).
Petkit Water Dispenser: How to Repair Petkit Water Dispenser Sealing Cover Error
Water dispensers often face issues due to moisture:
- Dry the Sensor Area: Use a cotton swab to gently clean and dry the sensors (typically near the cover’s hinge). Moisture can interfere with their ability to detect the cover.
- Check for Leaks: A loose or damaged water tank can cause leaks, which wet the sealing area. Tighten the tank or replace it if you notice cracks.
3. DIY Steps to Solve Petkit Sealing Cover Error
For more persistent issues, try these DIY techniques:
- Adjust the Cover Hinges: If the cover feels loose, gently tighten the hinge screws with a small screwdriver (be careful not to over-tighten, as this can strip the screws).
- Lubricate Stuck Components: If the cover is hard to close, apply a tiny amount of food-grade silicone lubricant to the hinges (avoid getting it on sensors or gaskets).
Troubleshooting Sensor Issues for Petkit Sealing Cover Error
Sensors are critical for detecting the cover’s position. Here’s how to check them:
- Locate the Sensors: Refer to your device’s manual to find the sensor positions (usually small plastic dots or prongs near the cover).
- Clean Sensors: Use a dry microfiber cloth to wipe away dust or grime. Avoid using liquids, as they can damage the sensors.
- Test Sensor Functionality: Open and close the cover slowly—if the error flickers on and off, the sensor may be misaligned. Contact Petkit support if adjustment doesn’t help.
Do I Need to Replace Parts for Petkit Sealing Cover Error?
In most cases, replacement parts aren’t necessary. However, consider replacing:
- Sealing gaskets: If they’re cracked or no longer seal properly.
- Sensors: If cleaning and adjustment don’t fix the issue (this is rare and may require professional help).
- Hinges or locks: If they’re visibly bent or broken.
Petkit’s official store and authorized retailers stock most replacement parts, and they’re often affordable.
Meaning of Petkit Sealing Cover Error Code
Some Petkit devices display specific error codes (e.g., E1, E2) alongside the sealing cover message. These codes indicate the root cause:
- E1: Usually means the cover isn’t fully closed
- E2: May indicate a sensor malfunction
- E3: Could relate to a damaged gasket
Check your device’s manual for code-specific troubleshooting, or visit Petkit’s support page for a full list of error code meanings.
Tips to Prevent Petkit Sealing Cover Error
Prevention is key to avoiding future issues:
- Clean Regularly: Wipe down the cover and sealing area weekly to prevent debris buildup.
- Avoid Overfilling: Whether it’s food or water, overfilling can strain the cover’s seal.
- Inspect Monthly: Check gaskets, hinges, and sensors for wear, especially if you use the device daily.
- Store Properly: If not using the device for an extended period, remove the cover and store it separately to prevent gasket compression.
Final Thoughts
A Petkit sealing cover error is usually a minor issue caused by misalignment, debris, or sensor glitches. By following the steps above—from basic cleaning to DIY adjustments—you can resolve most problems quickly. If all else fails, Petkit’s customer support is readily available to assist. With proper care, your Petkit device will continue to serve your furry friend reliably.


Hinterlasse einen Kommentar
Diese Website ist durch hCaptcha geschützt und es gelten die allgemeinen Geschäftsbedingungen und Datenschutzbestimmungen von hCaptcha.