
Pets have long been an indispensable part of the family, and Petkit litter boxes have become a top choice for many pet owners due to their convenience and practicality. Keeping the litter box clean not only contributes to a fresh home environment but also directly affects your cat's willingness to use it and their overall health. Whether you live in a compact urban apartment, a quiet countryside cottage, or a lively city residence, mastering scientific cleaning methods can make cat ownership much easier. Below, we will break down the key steps for cleaning your Petkit litter box, from daily maintenance to deep cleaning, tailored to household living habits and pet care needs.
1. Daily Cleaning: 5 Minutes a Day to Prevent Odor Buildup
For most small-household families, daily cleaning is crucial for preventing litter box odors from spreading—odors tend to accumulate more easily in limited living spaces. It is recommended to spend 5 minutes each day on the following tasks:
- Empty the Waste Container: First, remove the waste container from the Petkit litter box and discard the clumped litter and waste. Environmentally conscious families can place the waste in biodegradable garbage bags before putting it into sorted trash bins. This not only aligns with environmental concepts but also reduces odor leakage.
- Simple Wiping: Gently wipe the inner wall of the waste container with a clean paper towel or damp cloth to remove residual dust. For minor stains, just wipe with water and avoid using cleaning agents—residual odors may make cats reluctant to use the litter box.
- Check Litter Level: After cleaning, add new litter to maintain a thickness of 5-8 centimeters. This is the ideal thickness recommended by pet behavior experts, as it satisfies cats' habit of digging and reduces the amount of litter tracked out during use.
If you have multiple cats, it is advisable to clean the waste container twice a day to prevent cats from refusing to use the litter box while waiting for it to be cleaned.
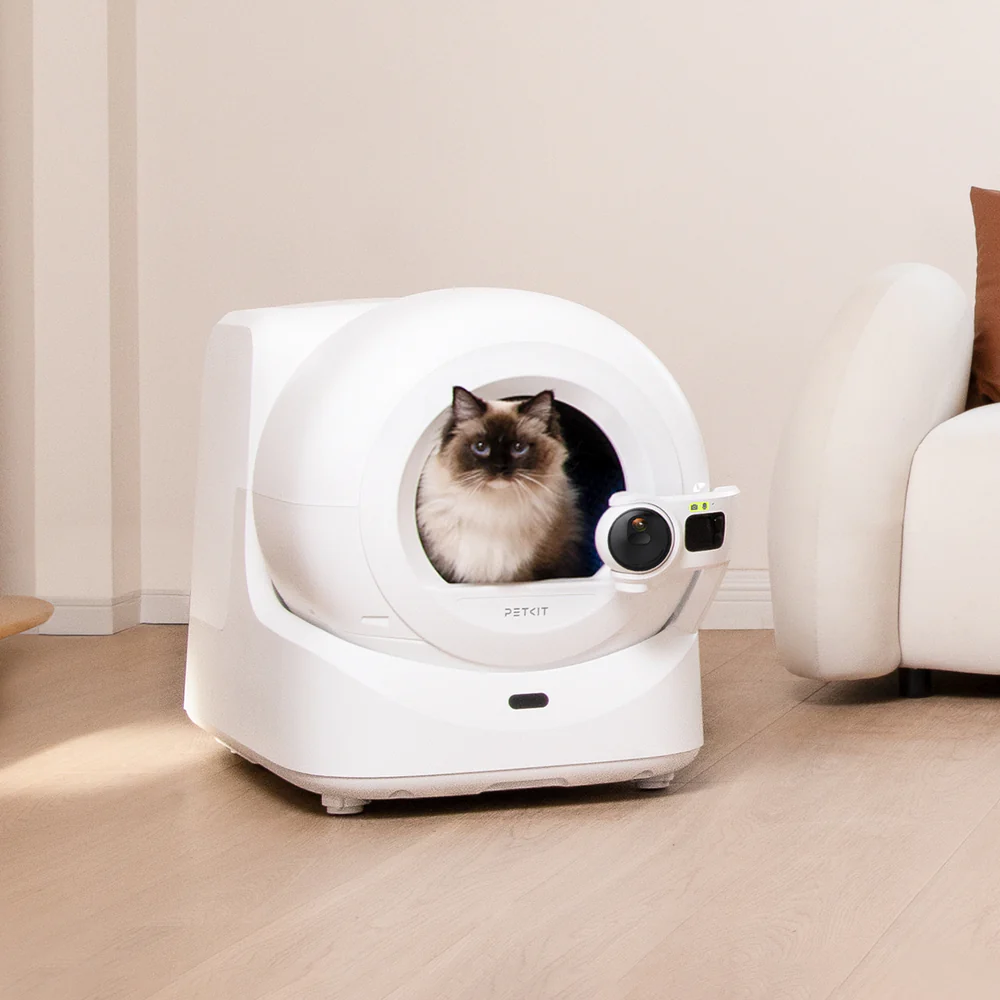
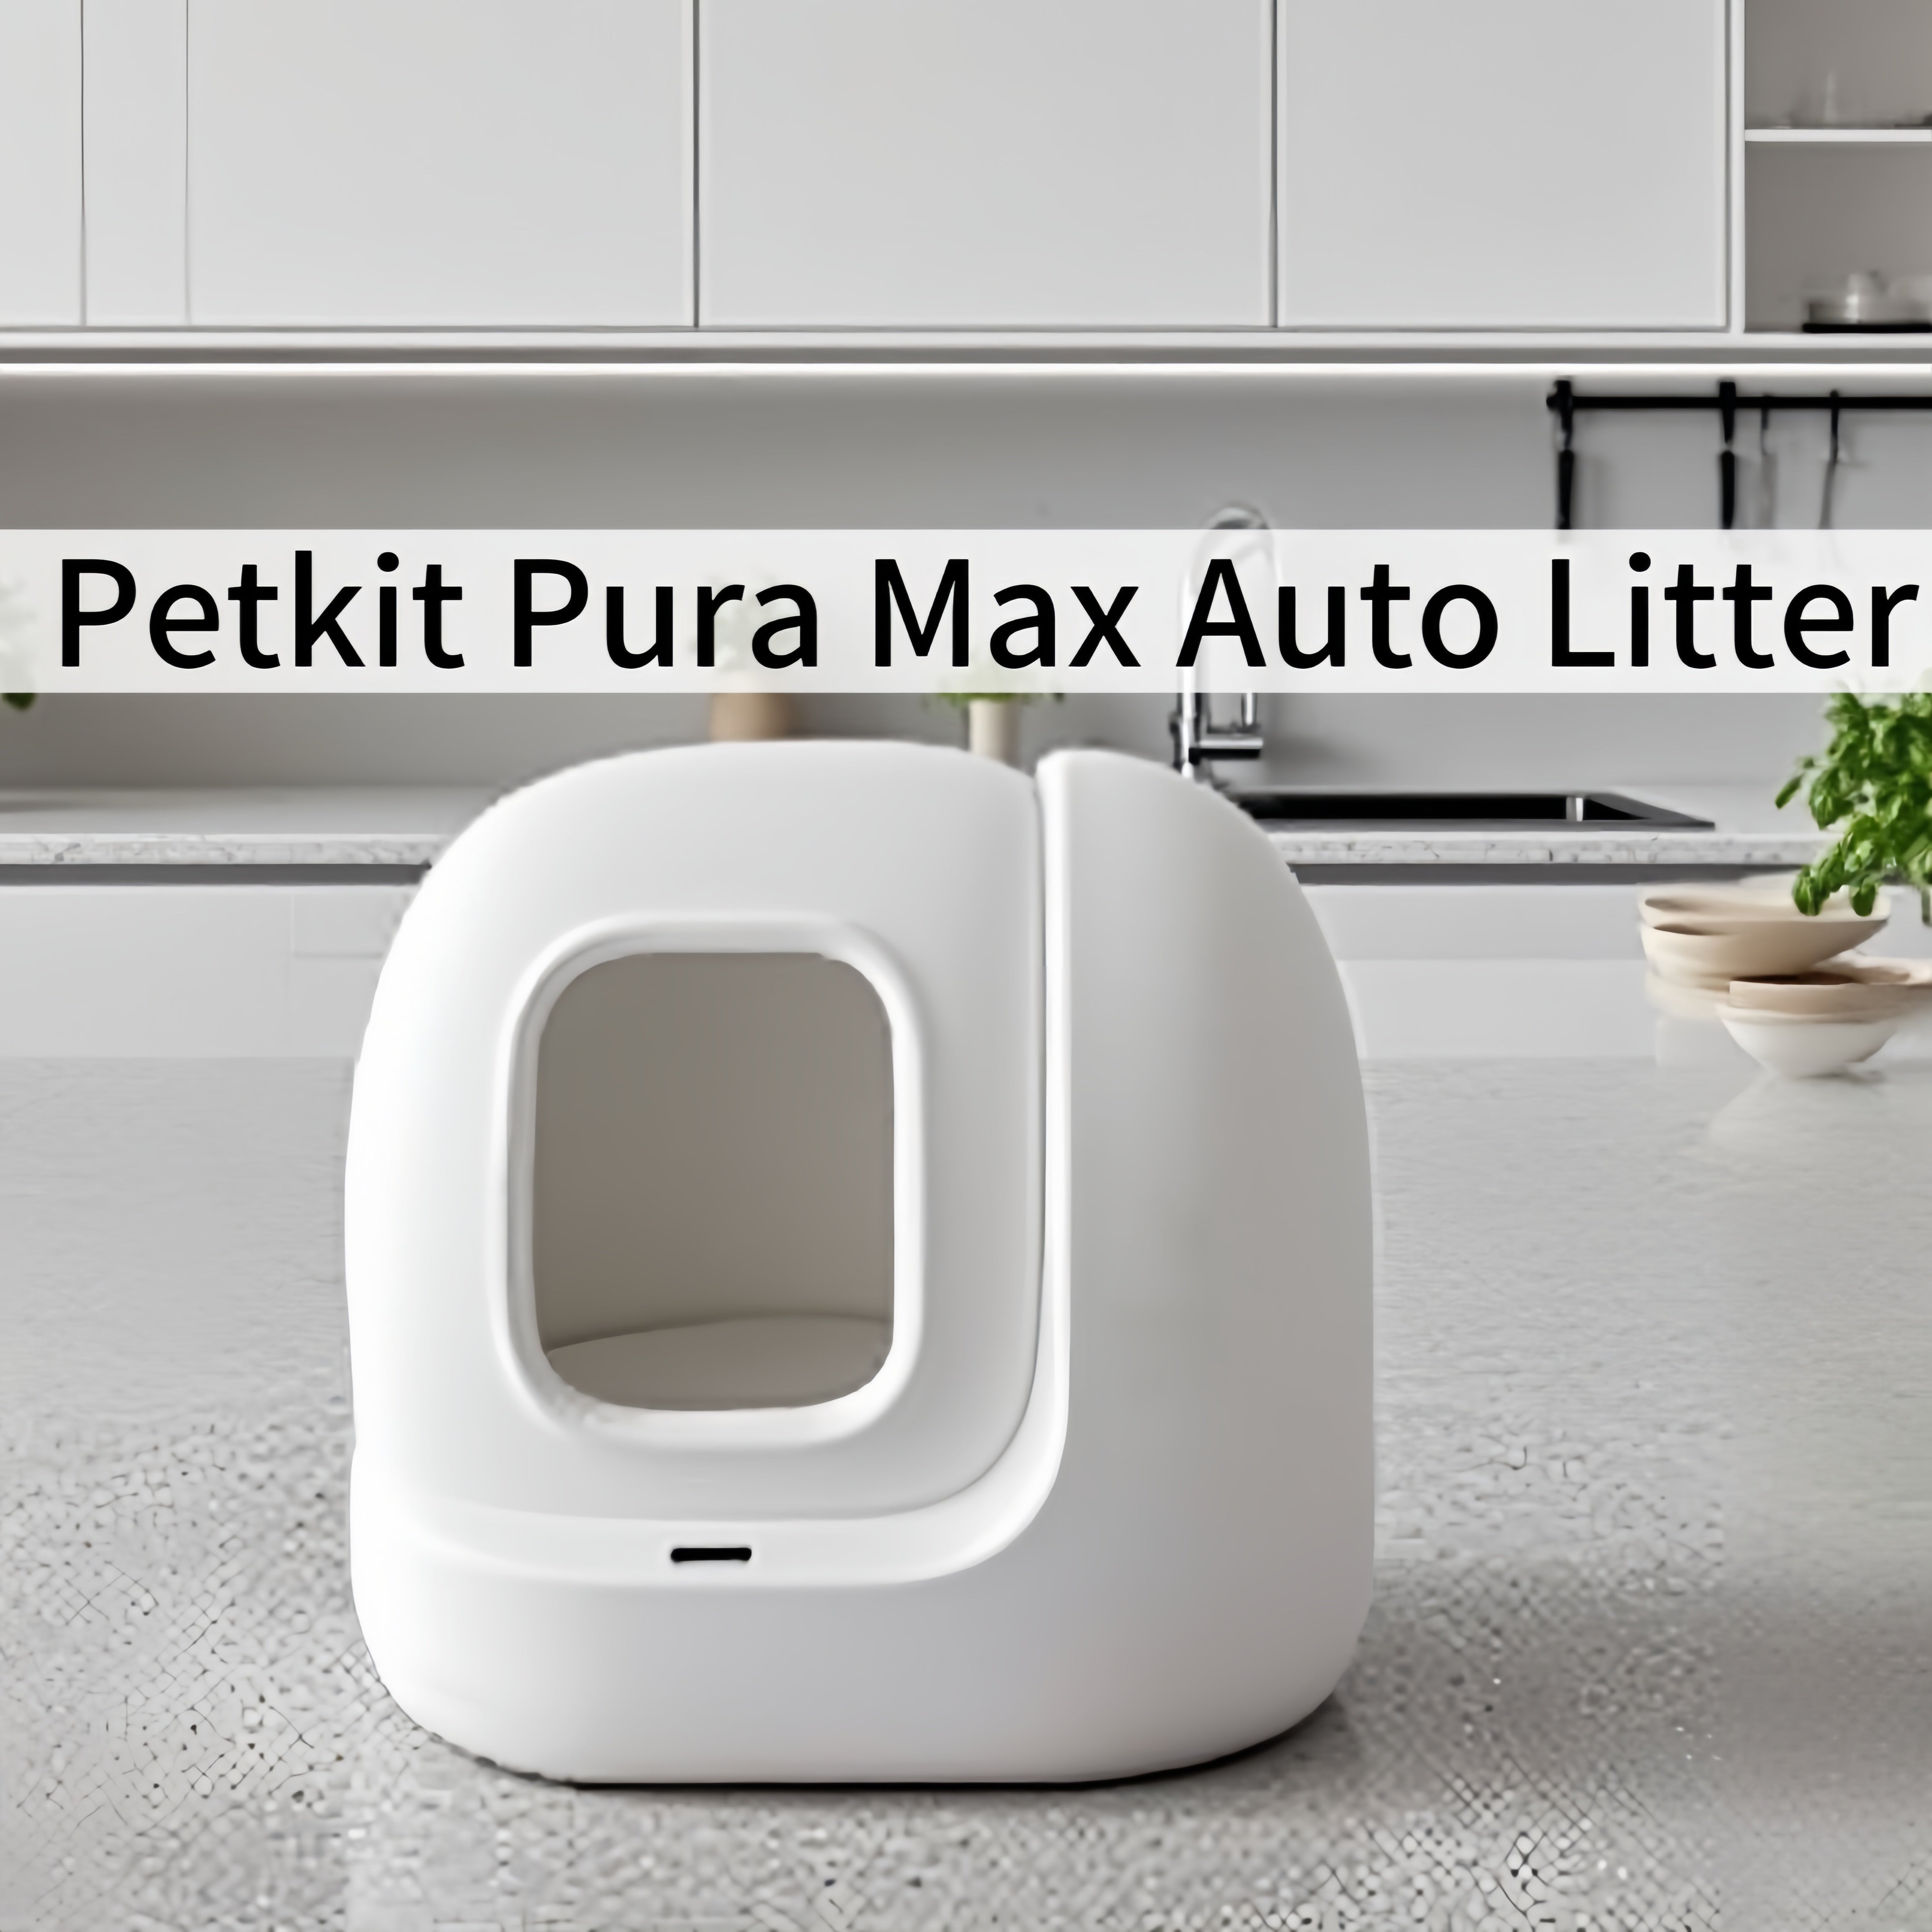
2. For Automatic Models: Step-by-Step Cleaning of Petkit Automatic Litter Boxes
Petkit automatic litter boxes are widely used in pet-owning households because they save time and effort. When cleaning, be careful to protect the components to avoid damage from improper operation. Here are the specific steps:
- Safety First: Unplug the Power: Before cleaning, unplug the power cord. This is a "basic safety principle" emphasized in pet product user guides and effectively prevents component malfunctions caused by accidental contact with switches.
- Remove Core Components: Open the litter box lid, turn the drum knob on the back of the main unit clockwise to unlock it, and gently lift the drum upward. Then, take out the litter sieve. Avoid pulling hard during operation—paying attention to "gentle maintenance" when using electrical products can extend their service life.
- Cleaning and Reassembly: Use a soft brush to clean residual litter from the inner wall of the drum. The litter sieve can be rinsed under running water (do not use a hard brush to scrub, as this may damage the sieve). After cleaning, reassemble in the order of "litter sieve → drum → lid", ensuring the drum knob is securely fastened. Finally, plug in the power to resume use.
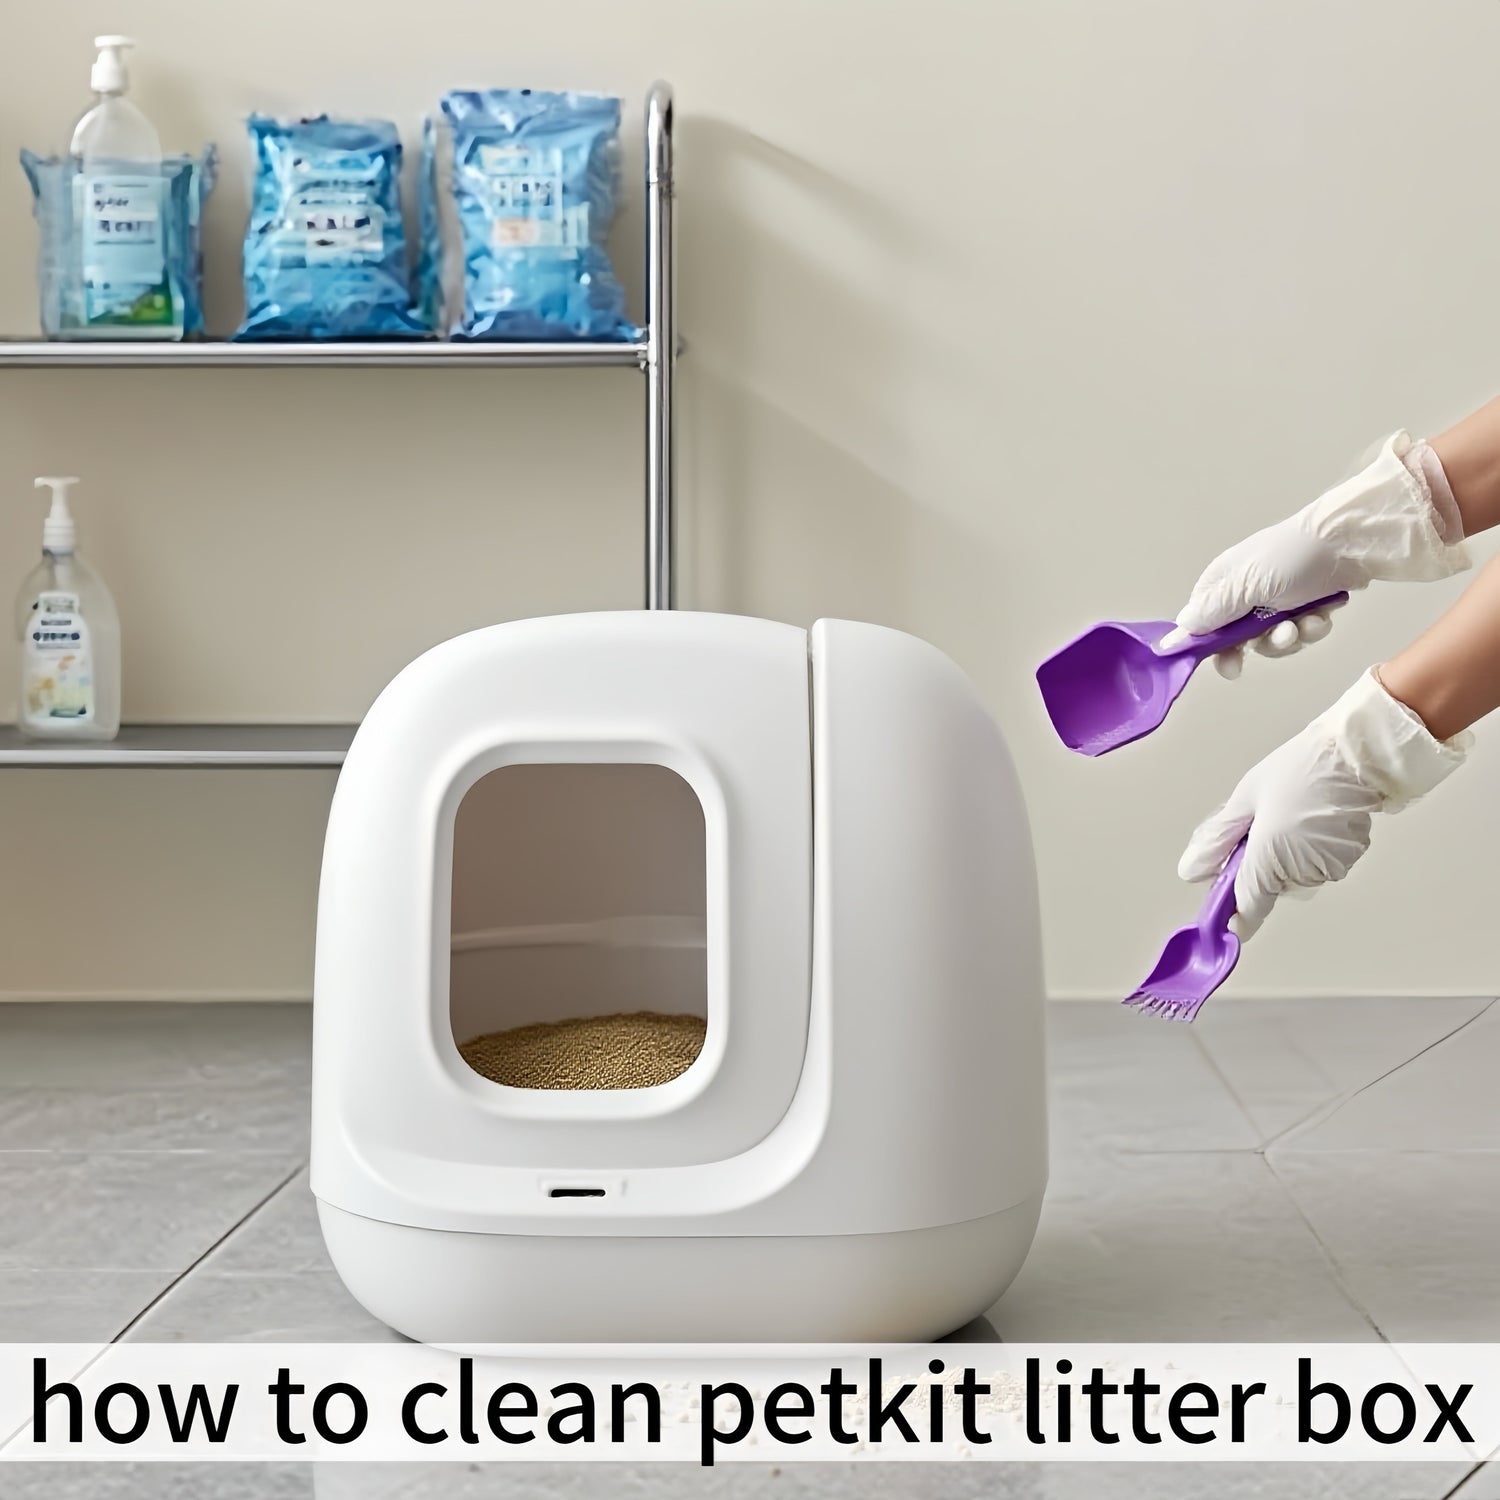
3. Weekly Deep Cleaning: Thorough Stain Removal and Bacteria Prevention
A weekly deep clean addresses stubborn stains and hidden bacteria, making it especially suitable for detail-oriented pet owners. Follow these steps:
- Completely Empty the Litter Box: Pour out all the litter from the box and rinse the inside with water to remove surface dust and loose dirt.
- Treat Stubborn Stains: If there are urine stains in the box, mix baking soda and water in a 1:2 ratio to make a paste. Apply the paste to the stained areas and let it sit for 10 minutes—baking soda is a natural, non-irritating cleaner commonly found in home kitchens and is safe for cats. If stains are still visible, add a small amount of diluted white vinegar (avoid high concentrations to prevent material corrosion), scrub, and rinse thoroughly with water.
- Filter Maintenance: Pet owners usually take care of the filter during deep cleaning. First, tap the filter to remove dust, then rinse it with room-temperature water (do not use hot water, as this may deform the filter). If the filter has been used for more than 3 months (the Petkit App will send an automatic replacement reminder, and users can purchase compatible replacement filters directly from petkit-eu.com), it is recommended to replace it to ensure the deodorizing effect remains effective.
- Dry Before Reuse: After cleaning, the litter box must be completely dried. It can be placed in a well-ventilated area such as a balcony or windowsill (like the small balconies or bay windows common in apartments) to prevent mold growth in a damp environment. Only after it is fully dry should new litter be added to prevent the litter from clumping due to moisture.
4. Solving Special Issues: From Preventing Cat Refusal to Stain Removal
1. How to Prevent Cats from Refusing to Use the Litter Box?
Pet behavior studies show that the common reasons cats refuse to use the litter box are "inadequate cleaning" or "residual odors". In addition to regular cleaning, pay attention to the following two points:
- After cleaning, ensure there is no residual cleaning agent. For products with strong odors such as vinegar and dish soap, rinse thoroughly until no odor remains.
- If your cat still refuses to use the box, try changing the type of litter (tofu litter, crystal litter, bentonite litter, etc., which are commonly available in pet stores) and choose one based on your cat's preference. You can also adjust the location of the litter box (avoid placing it near noisy or smelly areas like the kitchen or washing machine).
2. Odor Prevention in Small Apartments: Cleaning Frequency and Tips
In the small apartments common in cities, besides cleaning the waste container daily, you can place natural deodorizing bags (such as the popular bamboo charcoal bags or cedar chips on the market) next to the litter box to help absorb odors. During weekly deep cleaning, wipe the exterior of the litter box with diluted lemon juice (a light, cat-friendly fragrance) to refresh it and reduce residual odors.
5. Tips for Beginners: Avoid These Mistakes
If you are new to using a Petkit litter box, avoid these 3 common mistakes:
- Do Not Use Strongly Irritating Chemical Cleaners: Products containing alcohol, fragrances, or bleaching agents are not recommended. Environmental organizations clearly advise that for cleaning pet products, priority should be given to natural combinations such as "water + baking soda" and "diluted white vinegar" to avoid residual chemicals endangering your cat's health.
- Do Not Forcefully Pull or Twist Components: If you encounter resistance when disassembling parts, refer to the multilingual Petkit user manual (which includes clear diagrams) or contact the brand's after-sales service for guidance.
- Do Not Neglect Filter Cleaning: A dirty, uncleaned filter can cause odors to recirculate. This is especially problematic in well-sealed apartments, as it can seriously affect indoor air quality.
By following these methods, you can keep your Petkit litter box clean for the long term while aligning with household living habits and environmental concepts. Consistent, scientific cleaning not only provides your cat with a comfortable toilet environment but also allows you to enjoy a fresh, odor-free cat-owning experience.

Leave a comment
This site is protected by hCaptcha and the hCaptcha Privacy Policy and Terms of Service apply.